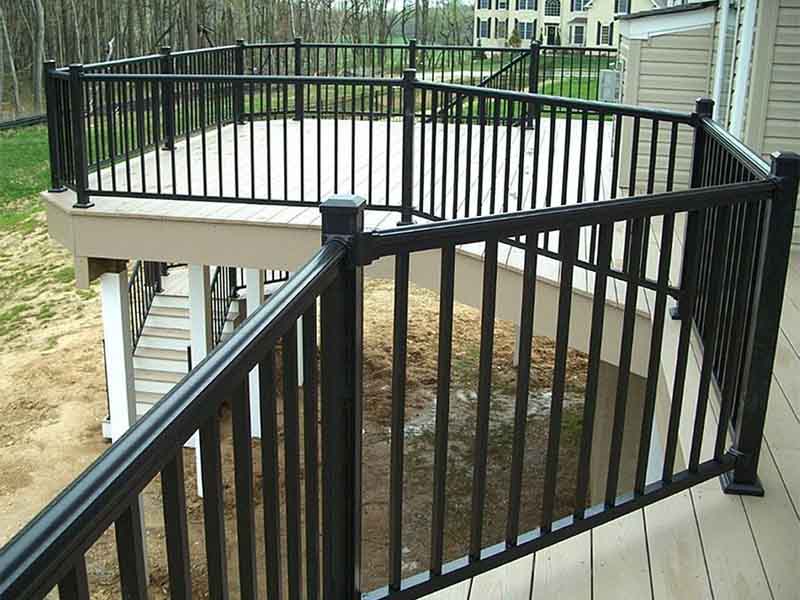
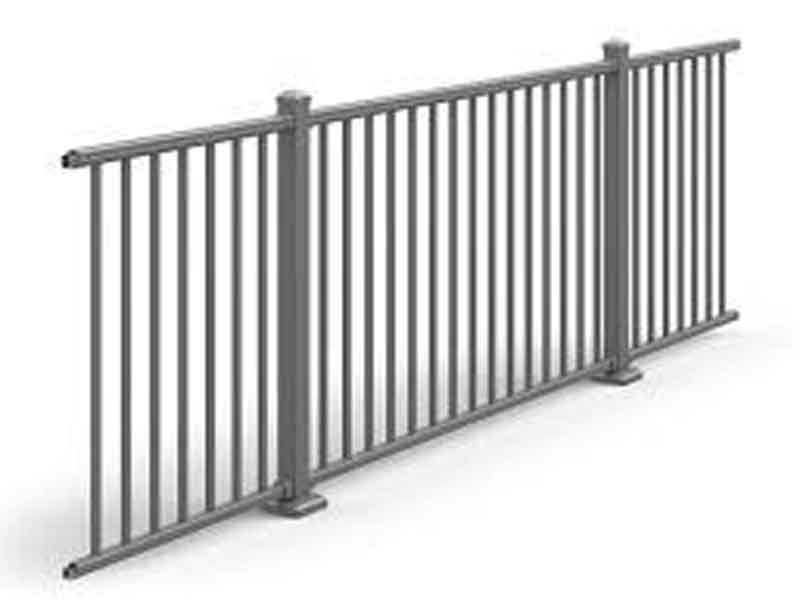
Features of Aluminum Fencing & Handrail
| Alloy | Standard | Surface Treatment | Further Process | Certificate |
| 6005 T5/T6, 6060 T5/T6, 6061 T4/T6, 6063 T5/T6, 6463 T5/T6, 6082 T5/T6, etc. | GB 5237-2008, JISH, AAMA, GB, BS, En | Mill finish, Powder Coating, Anodizing, Wooden grain, Electrophoresis, PVDF Painting, Sanding blasting, Polishing, etc. | Drilling, Bending, Welding, Precise cutting, Punching, Fabrication of finished products, etc. | CE, DNV, TUV, ISO9001
|
Specifications of Aluminium Fencing and Handrail
| System Reference |
Description |
|
| ZYLG180 Aluminium Fencing and Handrail |
75mm Width |
Download |
| ZYLG191 Aluminium Fencing and Handrail |
91mm Width |
Download |
| ZYLG210 Aluminium Fencing and Handrail |
90&100mm Width |
Download |
Benefits of Aluminum Fencing & Handrail
1. Multifunctional
It can be used on flat or sloping ground without creating unsightly gaps between fences.
2. Low maintenance.
Aluminum fences are as durable as high-end metal fences, but the cost to maintain their shape is much cheaper. For anyone who wants a beautiful fence and makes a fuss, aluminum fences are a good choice.
3. Long life span
Most aluminum fences have a longer life span than wood and steel fences. They will not rot, corrode or fade, and can withstand various elements.
4. Eco friendly
Nowadays, several aluminum fences are made of recycled materials and the manufacturing cost is relatively low.
How to Install Aluminum Fencing & Handrail
Step1. Mark the pile hole
Measure the area to be fenced and set a thin line to mark the fence line.
Step2. Dig the column hole
For a new foothold, stick masking tape on the thin line centered above the column position
Step3. Sink the posts
Install the template around the pillar hole and check its levelness.
Step4: Set up the post
Use anchor points to secure the column to the new concrete foundation.
Step5. Install the door hinges
Insert the hinged hammer of the hammer into the door panel.
Step6. Hang gates
Remove the top hinge and place it on the door, then install the door.
Step7. Add door hardware
Use the provided self-drilling Tek screws to fix the D-Latch to the terminal.
Step8. Install the fence panel
Use an angle grinder to cut the fence panel to a certain length, and attach a guide rail to protect the surface finish.
Step9. Fix the bracket
Use a drill bit or impact driver to fix the bracket with the supplied self-drilling Tek screw.

 English
 日本語
日本語 한국어
한국어 français
 Español
 русский
 português
 العربية
 tiếng việt
 ไทย
ไทย slovenčina